
Three.js Grass Painter: Paint Grass on a Terrain in Real Time
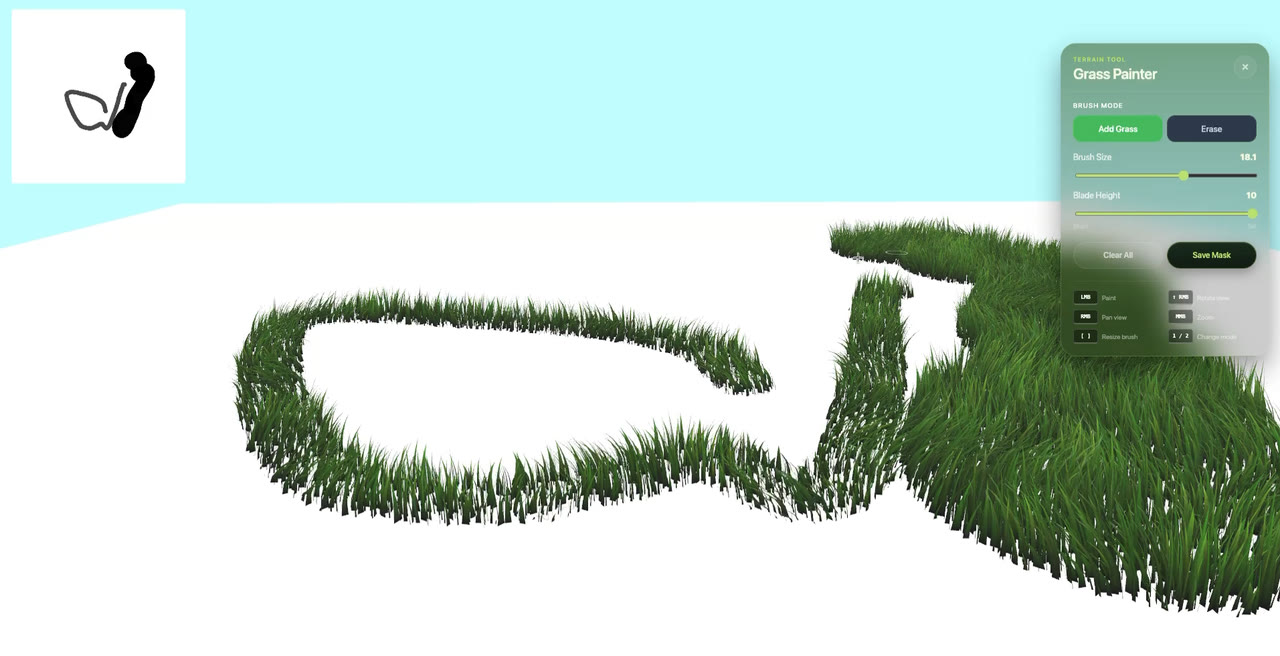
Grass maps solved the control problem in my Three.js grass system. One texture could say where grass grows and how tall it is. But the way I was making those maps still bothered me. Every change meant leaving the project, editing an image, exporting it and loading it back in.
So the next thing I wanted to try was painting the grass directly in the 3D environment, on the terrain itself.
What I Wanted, and What I Didn't
Before building anything, I had to decide how far to go. I did not want to build Photoshop for grass. That is a huge amount of work, and people already have image editors they know well.
What I wanted was a light authoring tool. A user could paint grass into the environment, erase it, and adjust the height of the grass in that spot. Nothing beyond that.
Painting a Grass Map Directly in Three.js
The tool works on the same principle as grass maps. It does not use a new format. It takes the same grass map and edits it in real time. Black is grass, white is no grass, and anything in between is shorter or taller grass.
The painting happens on the CPU. When you move the brush, a ray is cast from the camera onto the terrain. I take the UV at the point where it hits, translate that into a position on the 2D map, and paint there. The grass updates as the map changes, and the map itself is shown in the top-left corner of the screen, so you can see what you are drawing while you watch the grass respond.
Where Painting Grass in the Scene Fits
For a complex map, Photoshop, Affinity or a similar editor is still the better choice. They give you flexibility that I was never going to match.
What the painter gives you is that you are editing inside the environment. If you already made a map in an image editor and now want to add small details around the scene, you can paint them in place and see the result in real time. It can also start from an empty map if you would rather paint everything there.
The Problem With Seeing the Whole Field
There was one thing I had to deal with. My LOD system and distance culling were designed for a camera moving through the world, so they were running in the painter as well. That meant grass far from the camera was reduced or hidden, and I could not see the whole environment at once. It is hard to paint a field when you can only see part of it.
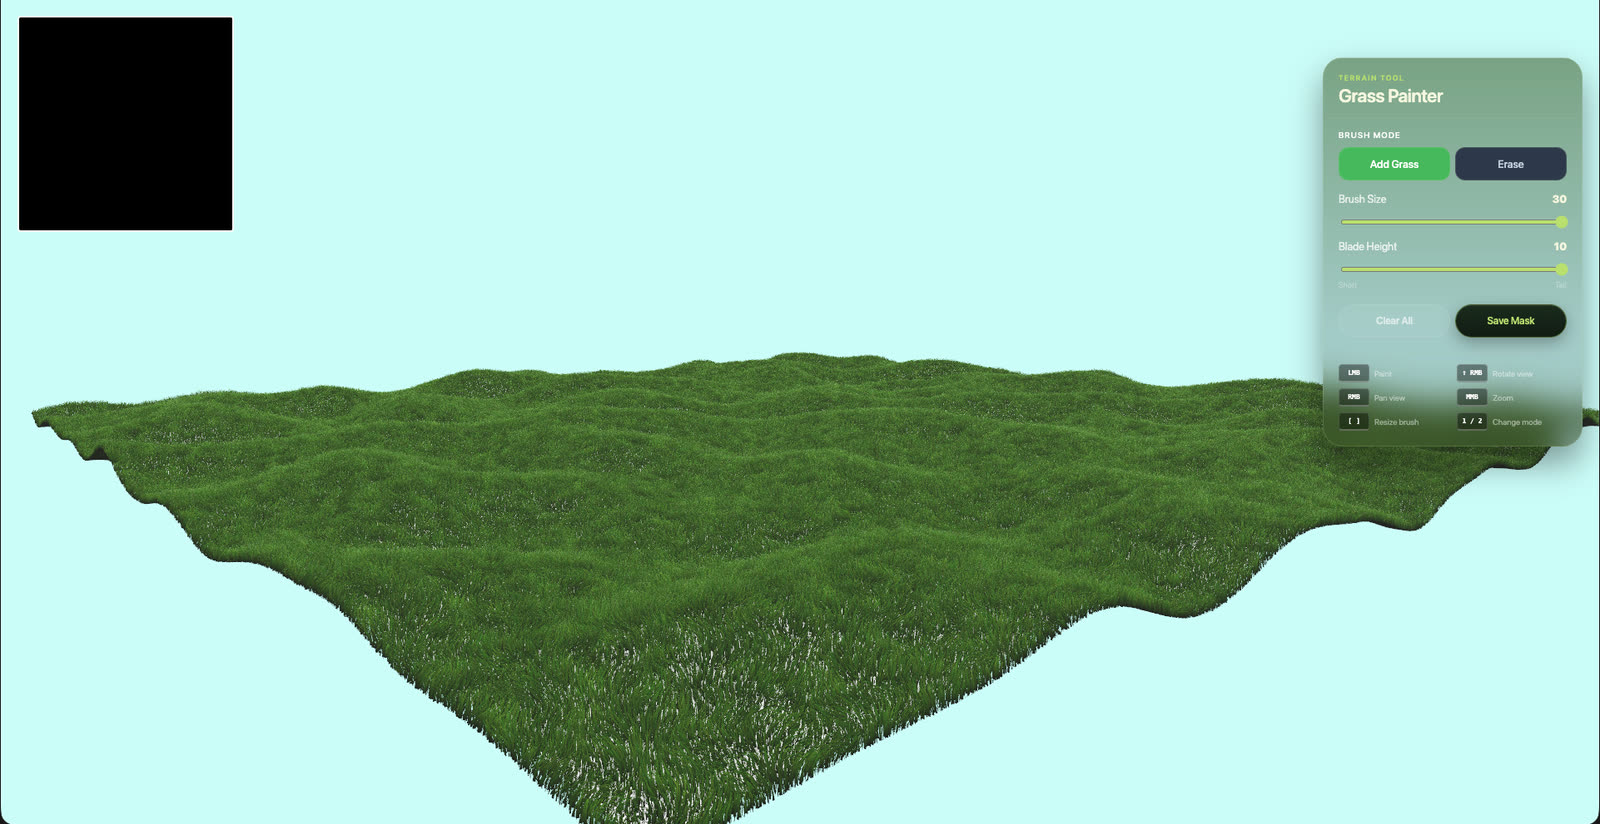
So when the painter is active, I turn off the LOD system and the distance culling. You get a view of the whole environment with grass everywhere.
Grass Quality Instead of Distance-Based LOD
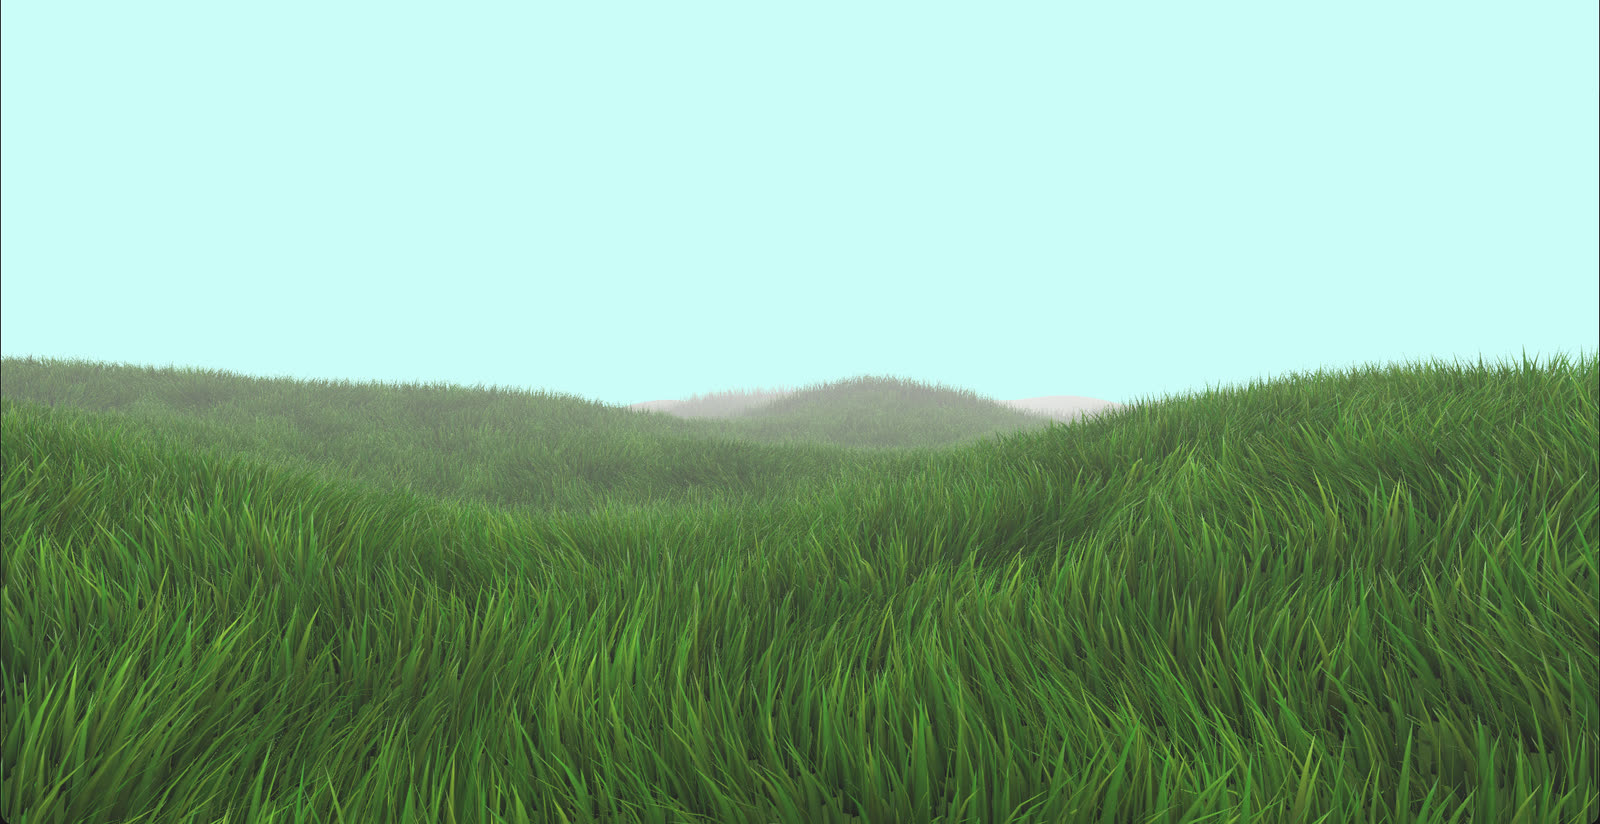
Rendering grass for the entire environment at once is expensive. On a weaker machine it can lag. To handle that, I added a quality option with high, medium, low and very low. These are the same levels as in the LOD system, and they work from the same parameters. The difference is that the chosen level applies to the whole field instead of changing with distance.
If performance is a problem, pick a lower level and the whole environment is drawn with lower-quality grass. Camera-view culling still works, so grass outside what the camera sees is not rendered.
Shortcuts and Saving the Grass Map
I also added keyboard shortcuts. You can control the painter without going to the panel each time, and once you know them it is much faster.
When the map looks right, there is a save button. It downloads the map as a JPG, and you put that file into the grass system as your grass map. It is the same kind of map as before, only edited in the scene instead of in an image editor.